I’d like to share some of my experiences about coding on an iPad…while in the desert of Namibia (*≧▽≦). Also list a few useful new SVG libraries I learned about (like animated SVG files, yes, a file). And of course show the end result of my Reasons to logo remix
I found Reasons to truly an amazingly inspirational conference. Definitely in my personal top 3 now!
So… last year I was completely new to conferences. Didn’t even know 1% of the conferences that were going on in the areas of web dev, data visualization and creative coding. And then my manager at the time pointed me to his favorite conference, Reasons to, which takes place in early September in Brighton, UK.
He practically forced me, in a good way, to sign up to do an elevator pitch for the 2016 edition. Max 20 people each get 3 minutes to show something to the audience. Afterwards, the audience votes on who they want to see back next year for a full talk (the 3 with the most votes come back). I’d definitely recommend applying for this. For one, you get a free ticket, YAY. However, it’s also quite a fun, nerve-wracking, bonding experience, because you rehearse the talks with all the other pitchers several times to get the timing right.
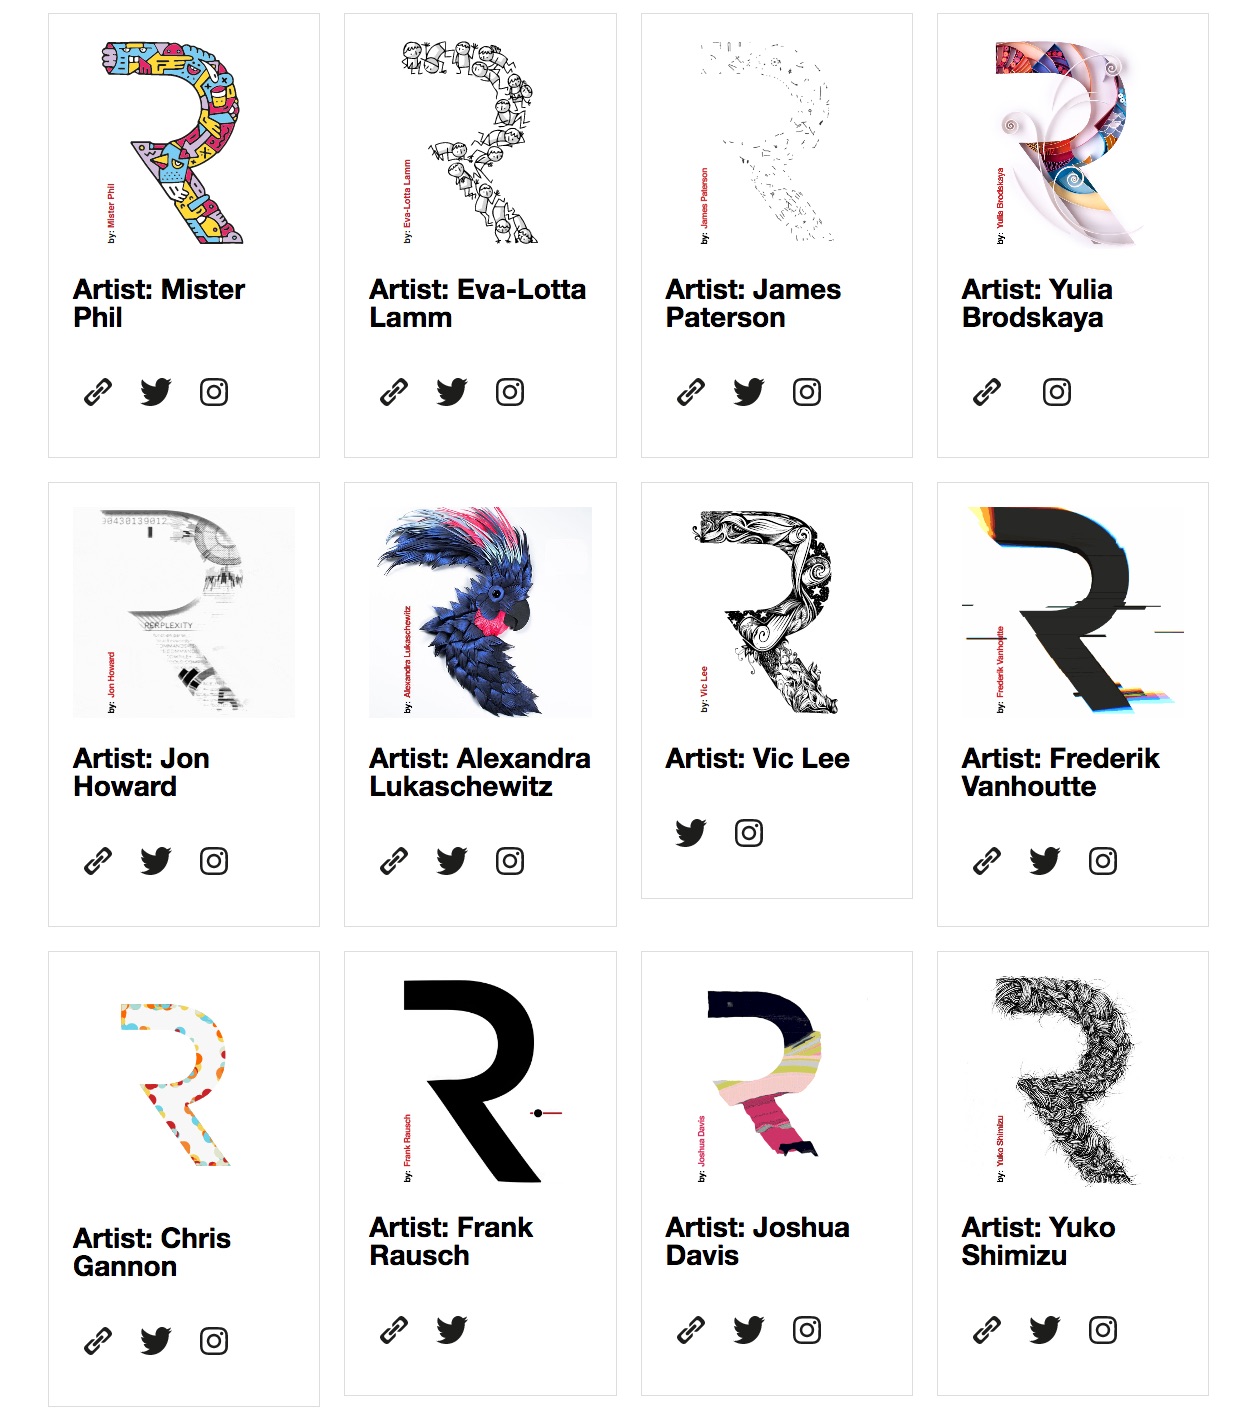
I was fortunate enough to be one of the winners of 2016, so this year I’m doing a full 40-minute talk (on my lessons learned during data sketches), but… as a speaker I also had the privilege to add my own remix of the Reasons to logo to the wonderful existing gallery of previous speakers’ takes on the logo
I wanted to do something that would fit me on a personal level. Quickly the idea of doing something with hexagons and rainbows overlapping the R came together. However, I was quite backed up with other conferences and work. But then I remembered -> during June I had planned a 3 week vacation to Namibia. That seemed like the perfect time to do this little side project. I was definitely not going to take my bulky laptop to the dusty desert, but I was fine with my iPad. Besides, I was interested to learn how “easy” it was to code on an iPad. Of course that took a bit of prepping to be ready…
Choosing an iPad code editor
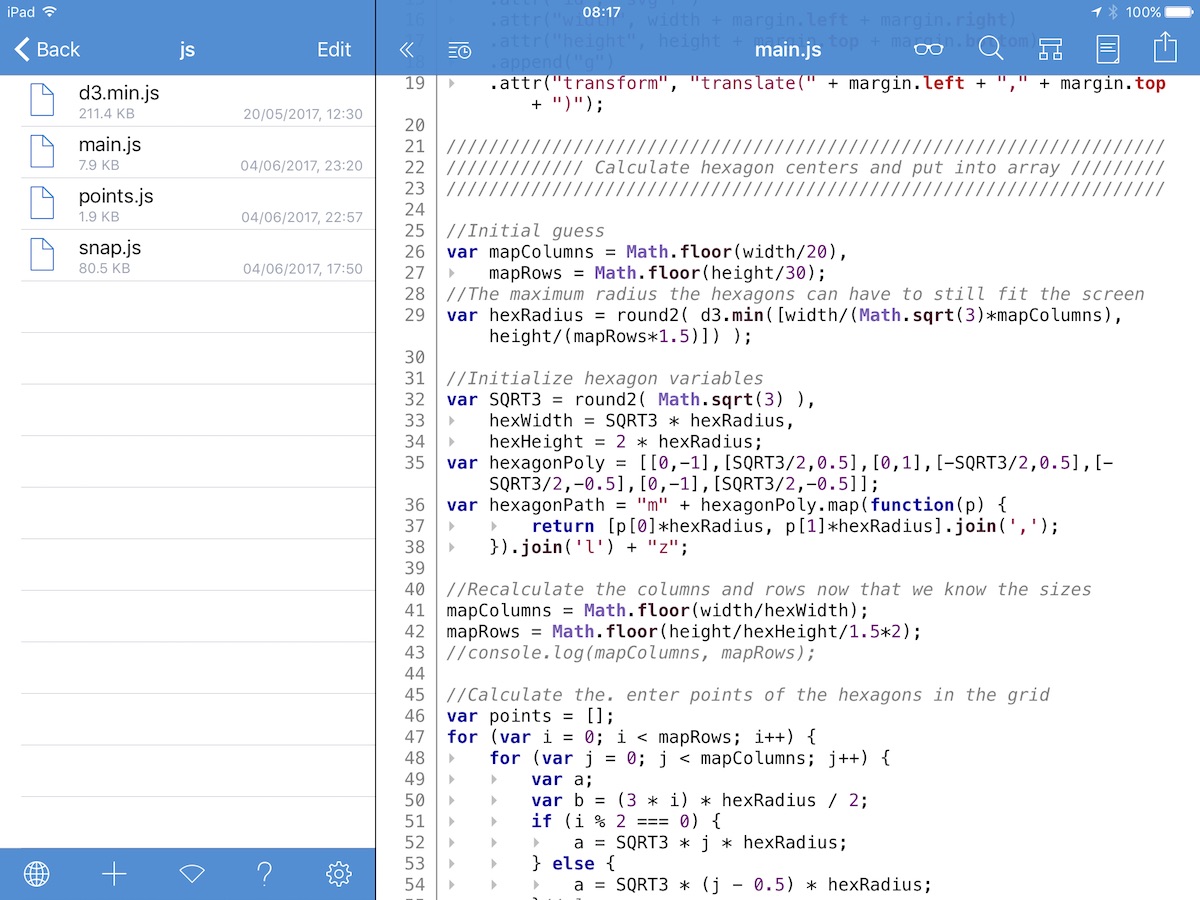
Still at home I first investigated possible apps on the iPad that allowed me to code. Eventually I decided to go with Textastic, due to the easy web server to preview your code, the myriad of other options, and the look and feel. I placed some of my simple code blocks on the iPad for guidance; to create hexagons, work with CSS blending modes, and the original reasons to logo SVG file, since I didn’t expect to have a lot of wifi while camping in the middle of nowhere.
Here’s the typical set-up in Textastic. The folders or files on the left (this can also be hidden) and code on the right
Rainbow hexagons
Using the code from the examples I’d already placed on my iPad it wasn’t hard to create a grid of colored hexagons. It was a bit of a challenge to remember how to do scaling from the center, so the hexagons wouldn’t also move on the page when they became bigger or smaller. My not-optimal solution was to place each hexagon in a group, place that group at the correct x/y location on the page and then scale the hexagon itself. This creates more DOM-elements though, but I just couldn’t remember the proper scaling+translation formula (*^▽^*)ゞ
Conforming to a background shape
Browsing for solutions took a very, very long time to do with the internet speed, but I shouldn’t complain, I had internet at least
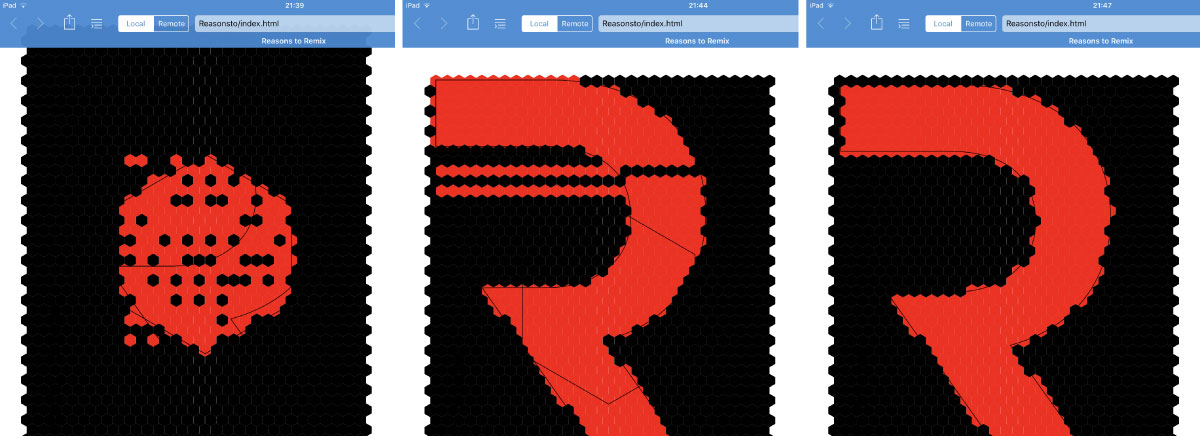
Next, I had to figure out how to only show the hexagons within the Reasons to R shape. To somehow be able to check if the center of each hexagon was placed within the shape that the R SVG path carved out. And I truly had no idea how to do this… Luckily, we were going to stay in a lodge the next night. I gathered a few different possible solutions from stackOverflow and copied snippets of code to my Textastic folder without checking if any of these worked.
The following night on a campground I continued to see which, if any, of the possible solutions worked. This wasn’t trivial, since I could only use the snippets of code that I’d saved. If I didn’t understand parts of the code, I couldn’t just search what it meant, or find different examples. Thankfully, I did get something working on the simple shape I used as a test; a large hexagon. Although I completely forgot which technique I used here (it isn’t the final one at least).
I then tried it with the actual Reasons to R shape. But, although it looks like a rather simple shape, just two arcs and some straight lines (by which I mean that it’s simple in its base elements), the underlying SVG path code was a bit of a nightmare ಥ_ಥ
//SVG path of the original Reasons to R shape
"M-75.157-177.185 c68.52.03 137.044-.02 205.567.014 7.13.24 14.358
-.24 21.43 1.04 19.93.7 39.707 4 59.195 8.25 2.29.62 4.64 1.14 6.943
1.8 10.443 2.44 20.592 5.93 30.64 9.6 2.776 1.1 5.554 2.19 8.33 3.27
7.343 3.13 14.624 6.43 21.765 10.07 6.45 3.47 12.86 7.03 19.016 10.99
19.29 12.314 37.1 27.292 50.81 45.73 8.76 11.374 16.29 23.674 22.58
36.58 3.6 7.6 6.96 15.335 9.67 23.3 16.6 1.797 1.19 3.597 1.85 5.4.38
1.5.82 3.01 1.29 4.522 3.22 10.86 5.45 22 7.11 33.22.72 4.285.84 8.65
1.18 12.99 1.54 9.46.85 19.12 1.002 28.67-.198 6.68 5.247 13.45-1.02
20.06-.37 4.32-.41 8.7-1.25 12.958-1.8 13.15-4.668 26.194 -8.86 38.797
-.464 1.44-.923 2.88-1.384 4.32-8.845 24.21-21.43 47.2-38.335 66.74
-15.066 17.756-33.29 32.72-53.19 44.783-8.55 5.05-17.32 9.76-26.4
13.826-7.09 3.184-14.3 6.135-21.636 8.7-1.8.63-3.63 1.25-5.425 1.92
-5.41 1.636-10.82 3.32-16.24 4.94 65.8 91.64 130.98 183.72 196.84
275.316-37.69 6.215-75.394.04-113.11.11-12.89-.233-25.81.45-38.698
-.376-12.807-19.23-26.627-37.78-39.81-56.76 C151.597 390.39 78.51
287.1 5.43 183.79 c37.805-.488 75.627-.07 113.43-.274 15.93-.2
31.84-2.12 47.35-5.788 1.87-.49 3.76-.954 5.64-1.466 7.6-2.09
14.98-4.927 22.21-8.042 25.266-11.477 47.46-30.916 59.08-56.44
12.62-29.454 12.89-63.338 4.137-93.888-.677-1.858-1.31-3.742-1.96
-5.598-7.967-21.907 -24.39-40.024-44.38-51.704-18.434-10.67-39.21
-16.72-60.21-19.68-23.9-3.64-48.16-2.575-72.27-2.72 H-75.16
c.01-38.4 6.01-76.9 3.0-115.4"
There are a few straight lines in there, but these are buried in many teeny-tiny (relatively placed) arc paths. And all of the code snippets that I got working on my simple hexagon broke down completely when trying to assess if a point lay inside that nightmarish SVG path. Eventually I conceded in my attempt to only use vanilla JavaScript and d3.js, and downloaded the Snap.svg JavaScript library the next night we had wifi again. Snap has an exceptionally straightforward function to assess if a point lies inside a path
//Check if point [d.x,d.y] lies within the SVG path given by reasonsPath
//This function returns TRUE/FALSE
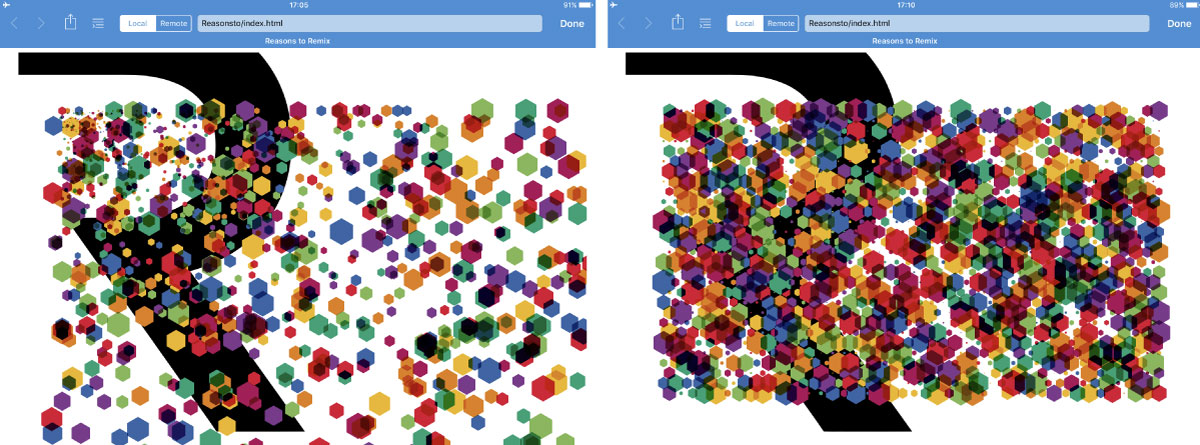
Snap.path.isPointInside( reasonsPath, d.x, d.y);And it worked! There were still some strange issues with rounding errors, I think, where some points seemed to lie outside of the shape. See the tests below for example where I color the grid depending on whether or not the above function returns true. But with some small nudges of the entire visual I found a position where all the correct points were situated inside the R shape.
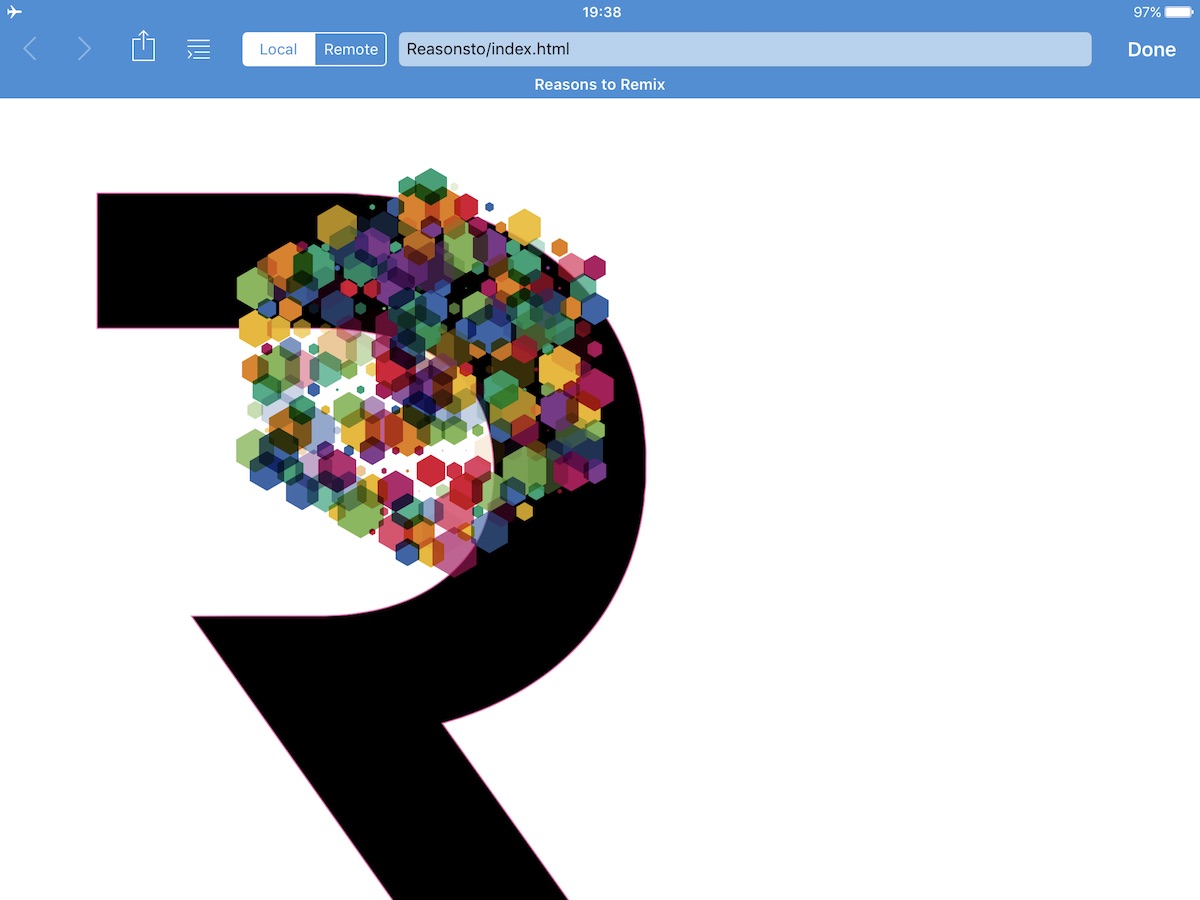
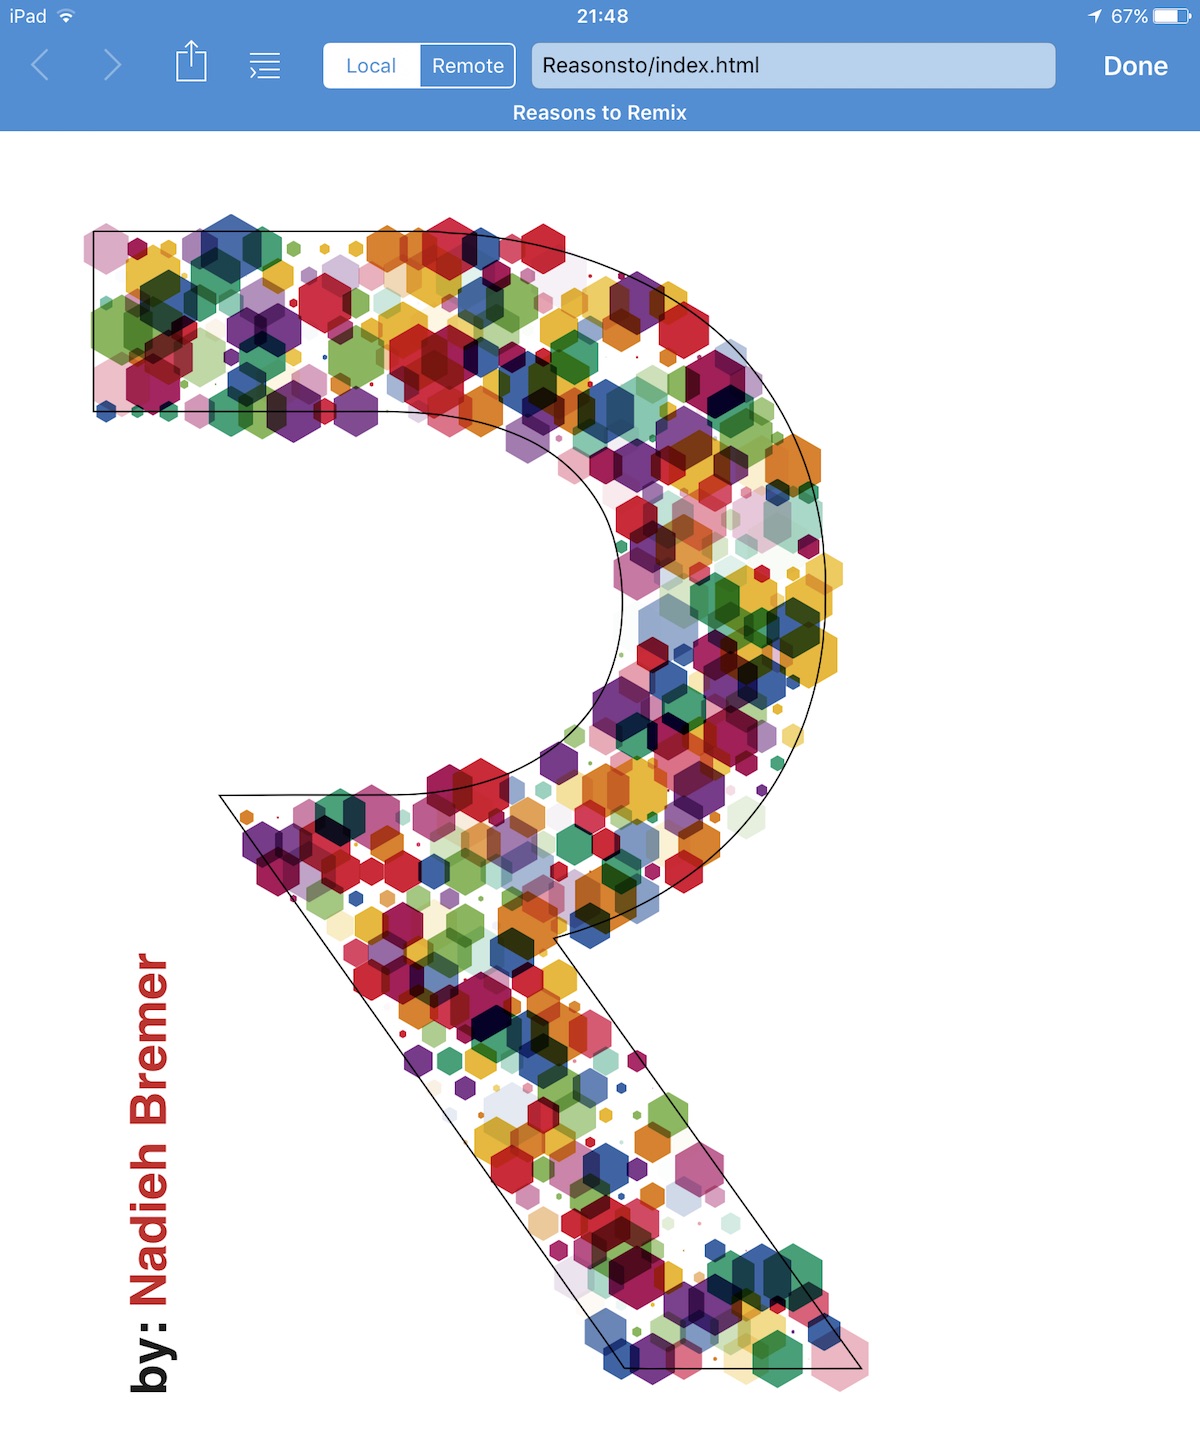
Which led me to finally seeing the end result that I had in mind from the start; to have the Reasons to R be replaced by colorful hexagons. But as a cherry on top, I wanted to animate them. Which opened up a whole new avenue of possibilities that I was completely unaware of…
A single animated SVG file
Animating the hexagons to scale up and down and become more transparent or opaque in a random fashion was really easy. It’s quite basic when using d3.js and you can see that final version in this block (or in this block where I don’t load the snap.svg library anymore because I’ve hardcoded the points into the JavaScript file). BUT…
For it to appear on the Reasons to website, I had to give John, the organizer, some self-contained file. I couldn’t just handover some JavaScript & CSS snippet that would build up the SVG and keep it animating. I therefore assumed the only option was to create an animated gif. And this is where I waited until I came back home, since I felt that to create a proper, not-too-big gif I really needed my laptop. But my animating hexagon R didn’t result in a nice and tiny gif. No, just 3 seconds of about 5 images per second resulted in a 3Mb file (●__●)
I emailed John and he suggested talking to Chris Gannon (who creates some of the absolute best animated SVGs in the world!) because his remix was a self contained and animating SVG file. Luckily, I had met Chris at Reasons in 2016 so I knew what a great and nice guy he was, and he pointed me to a video he made about how to create your own SVG file that, when opened with a browser, results in the SVG being animated. In short, my mind was blown.
Chris did give me the warning that this kind of self-contained SVG file is “open to X-script attacks and probably shouldn’t be used where there is sensitive data, such as bank or credit card websites”, but that for something such as the Reasons to website (and my own) it was fine
And, it turns out, it’s quite simple to do. In a nutshell, you add all of the styling and JavaScript into the SVG file itself. But strangely enough the up and down scaling transitions didn’t work anymore, just the opacity… I therefore went back to study Chris’s remix and learned just enough Greensock to get the two animations working (which I’ve already forgotten to do since then). And voila, a nice single contained SVG file for John to place on his website. And, that first image of the animating hexagons all the way at the top of the blog, is also that single SVG file simply loaded through an object element.
Reflecting on coding on an iPad
The Textastic keyboard does have a wonderful set of extra keys to make it easier to select the “unusual” keys, such as the “;”
Although the last part of creating an animated self-contained SVG file was done on a laptop, the visual itself was made on my iPad Pro 9.7" using Textastic. And yes, it did work, and I got the desired result, but I now know that I would never choose my iPad over my laptop if I have both available. However, I feel that a large part of that could be due to the fact that I didn’t have a separate keyboard (or mouse) at the time. It was just too much of a hassle to keep switching between the on-screen keyboard and my code, to copy and paste something or to moving up and down to the correct location in my code. And although the web server of Textastic gives you the possibility to see the messages that get printed in the console of the browser, there’s no equivalent of the Developer Tools. For more complex projects you really can’t do without the options that the Developer Tools offer to understand complex bugs in your code.
But in case I am going on vacation again, don’t want to take my laptop, and I have a seemingly easy project to work on, I’ll take my tiny Magic Keyboard and bluetooth mouse with me to see if that improves the situation.